Hello there, Rahul here. For those who read my first post, it’s good to see you again.
Recently, I’ve been experimenting with Signed Distance Fields (or SDFs as it’s known to its friends), and that work’s basically culminated in this first devlog. Here I’ll go over what SDFs are, why we’re considering using them, and how they work. Part 2 is mostly going to be our conclusions and whether or not SDFs were used in Tablecraft. And secretly I’m hoping we can pull a hobbit and do a Part 3 (don’t tell anyone).
Introduction
The story of SDFs and Tablecraft actually begins before I joined the team. You might have noticed how Tablecraft has been changing these past couple months. Rafael and John have been giving the game an entire visual overhaul, exploring what Tablecraft should look and feel like. In this exploration process, Rafael quickly setup the scene with multiple real-time lights so that he could iterate on the look as fast as possible.
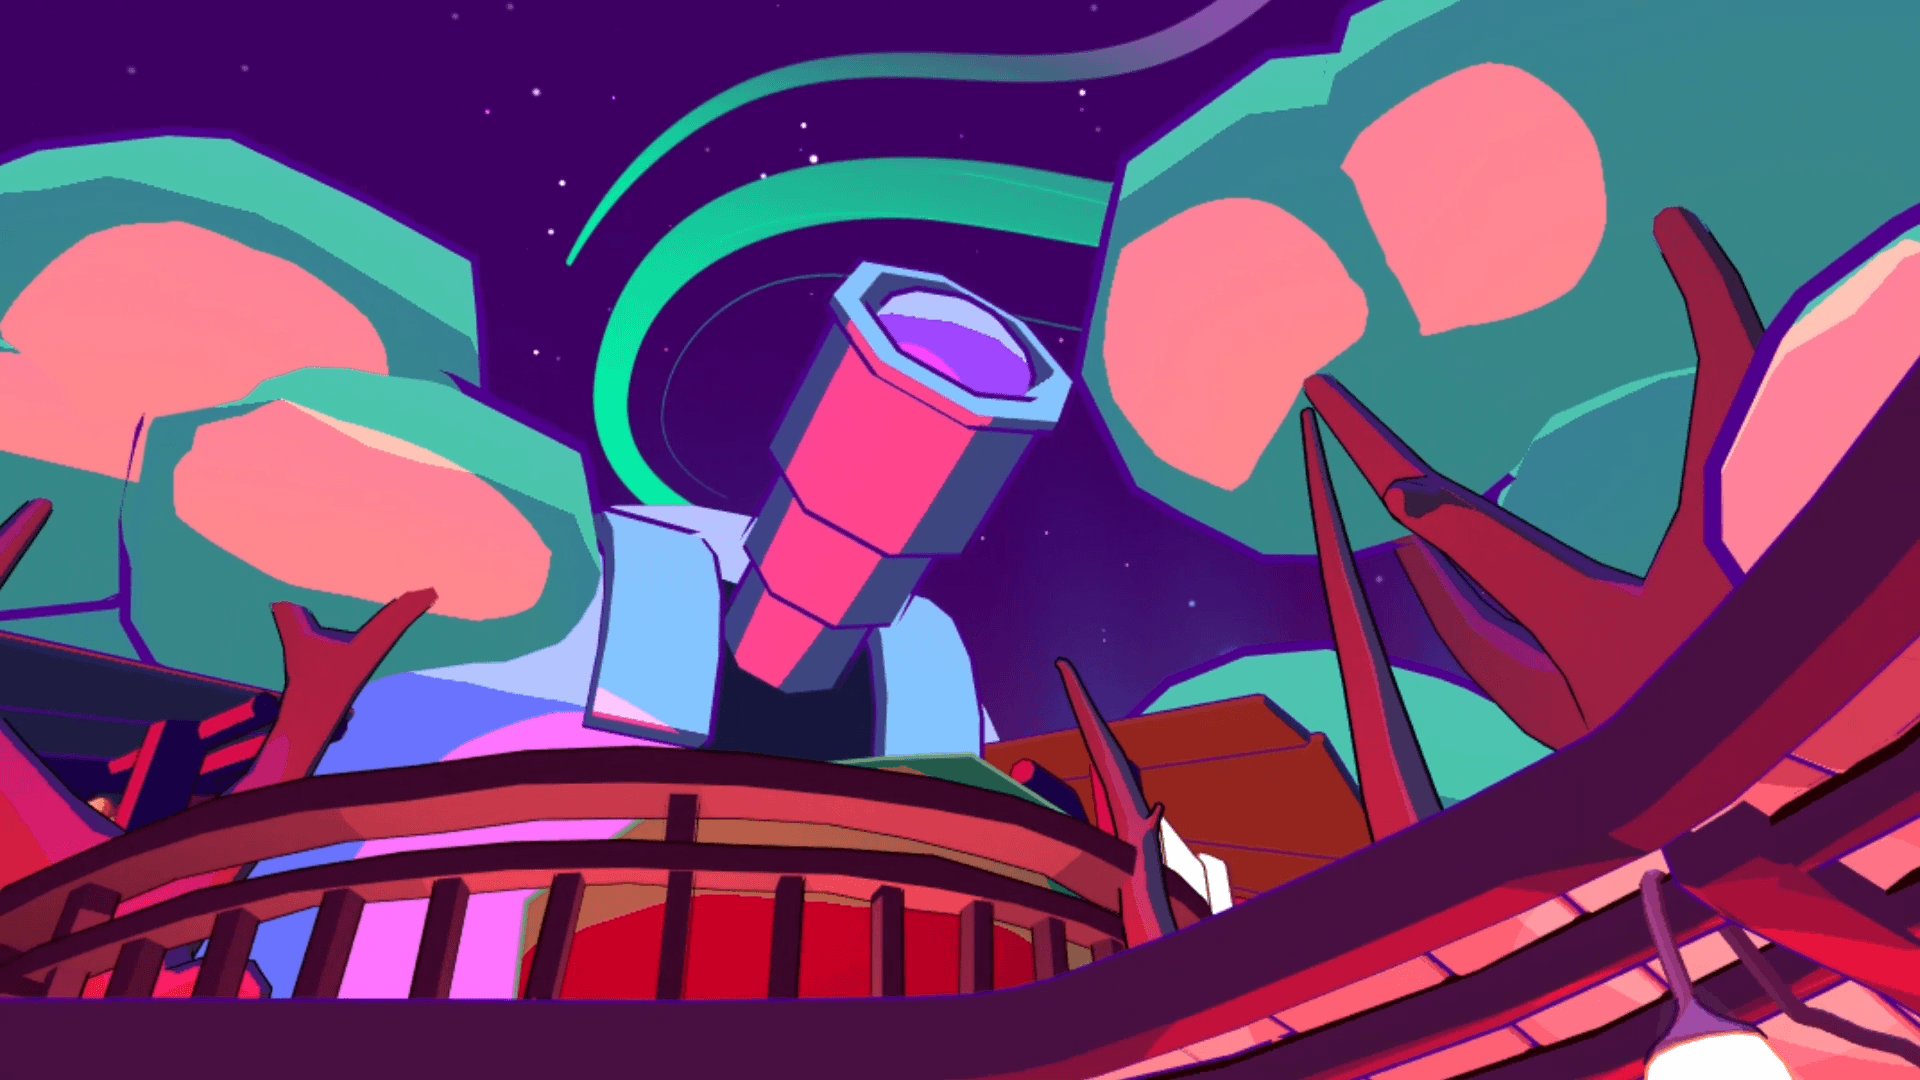
Notice the pink-ish flat highlights on the trees and telescope. That’s done with real-time lighting and a toon shader.
But a bunch of real-time lights can’t be a permanent solution, because of all the draw calls they incur. It’s completely unsuited for platforms like the Oculus Quest. The standard answer to this situation is to just use light-mapping. But Unity’s light-mapping algorithm can’t do hard-edged highlights like the ones in the picture above, or at least it couldn’t back when Guillaume and Rafael tested it. So this left the team with two choices: either build some kind of custom light-mapping solution or paint every 3D object manually with lighting on it.
It was decided that painting 3D objects was likely to be the fastest option. So John started painting all of his 3D models to match the first draft of colors and lighting Rafael had put together using real-time lights.
Fast forward a little bit, and I’m now working with the team to get Tablecraft onto the Quest. I see John post his textures, and I read his lament that even massive 2048×2048 textures aren’t enough to render good edges in VR. People can put their head as close to a texture as they like in VR, so it really takes a lot to keep the fidelity that real-time lighting had.
In response to this problem, I suggested SDFs and found it’s really hard to explain to others, mostly because it seems so magical.
SDFs Really Aren’t Magic
SDFs are a texture. You use these textures with a shader that can interpret them. Those two will basically let you render shapes with sharp edges no matter how far you zoom in, all while using very small textures (I’m talking 32×32 and 64×64 textures here).
This technique is really applicable for Tablecraft since our scenes are all just arbitrary shapes of flat color lying on top of each other. In my tests I was able to recreate the 2048×2048 texture on John’s model using one 256×256 texture. And here’s a comparison of how they hold up:

Can you guess which one’s the SDF?
But SDFs really aren’t magic though.
How do they work?
Bilinear Filtering
At the core of SDFs is bilinear filtering. Whenever you want to render an image, you rarely have the opportunity to draw it by just assigning each pixel in the screen a color from a pixel in the image. Images are scaled, rotated, and generally just moved around. They don’t necessarily align with your screen’s grid of pixels. So you have to do some math.
Imagine that your texture isn’t a grid of square pixels, but is instead a set of points in space with colors attached to them. So each pixel actually tells us the color of a certain coordinate in space. When you want to draw that texture, you look at where each pixel in your monitor lands among that set of points. Most likely, your screen pixels are landing somewhere between the actual points of your image.
The simplest way to deal with these situations is to find which texture point is closest to your screen pixel, and assign that texture color to the pixel. That is the nearest neighbor method. Bilinear filtering takes the four texture points surrounding the position of your screen pixel, and takes a weighted average of them. Here’s a modified image from wikipedia explaining the process in 1D then 2D:
The yellow and green lines represent the points in the texture. The black line is the position of the screen pixel. The heights of the lines represent their color. Bilinear interpolation linearly interpolates the colors across 2 dimensions.
This is why scaled up images often look so blurry. It’s because bilinear filtering smoothly interpolates between nearby pixels, transforming two adjacent colors into smooth gradients.
 It probably seems odd that a technique for rendering crisp edges relies on this blurring effect. But the technique works because SDFs don’t store information about what color a pixel should be, like regular textures do. SDFs instead store information about distance and take advantage of bilinear filtering to generate pixel-perfect distance values. Which means now it’s time to explain what exactly I mean by distance.
The Distance in SDF
Let’s say you want to draw a circle: a circle that can be scaled up by a billion times without any artifacts. You might say, “well a pixel-perfect image of a circle is really just a collection of screen pixels that are less than a certain radius away from the center.” So you might program a shader that takes advantage of this. It calculates each pixel’s distance from the center and colors all the points inside the circle red. Now you have a red circle that can be scaled up to any size because it’ll always show the sharpest line your monitor can render.
But maybe you want to draw other pixel-perfect shapes some day. And you know that some shapes can get really complicated, and it’ll be impractical to calculate whether or not each pixel is inside the shape. So let’s assume that even our simple circle is like one of those complicated shapes. What could you do to still use this distance approach?

How about storing distance in a texture? The nice thing about distance is that it scales linearly with distance. Which means bilinear filtering’s linear interpolation is a good way to take a limited amount of pre-calculated distance information and accurately scale it up to whatever resolutions we need. Using textures also points to a way to generalize SDFs to not just be shapes pasted onto the 2D plane of the monitor. You can do these calculations per pixel using things like UV or world position values instead of screen coordinates.
Now the question is how do you encode distance information in a texture?
The Signed in SDF
Imagine if we weren’t dealing with textures. Our main goal is to tell pixels whether or not they are inside an arbitrary shape. We can then color the pixels that are inside the shape. It’d be good if our way of encoding distance made it easy to retrieve this information. So what if we just store distance from the edge of the shape? A positive distance means we are inside the shape, and a negative distance means we are outside the shape. Now all we need to do is check if the distance is less than 0, and we know a pixel is outside the shape!
That’s one bit of nuance about this technique that is easy to overlook. All we really want is a binary result of inside and outside, but that information by itself can’t be interpolated well when scaled up to higher resolutions. That’s why we are storing distance along with the sign.
Since we’re dealing with a texture, we offset our distance information by adding 0.5 and clamping the result between 0 and 1. This information can then be stored as a single channel texture where black represents 0 and white represents 1.
Now you can enjoy some really dope circles.

Now you know SDFs! (if you didn’t already)
And you can probably see why we’re excited about it. It’s a great way to render our lighting. The only problem is that it has some limitations, and that’s what we’ve been experimenting with to see how feasible they are in the game.
Our Experiments
In our performance tests, we found SDFs to be more expensive than just drawing a regular texture. We also found reading multiple textures for multiple SDFs to be more expensive than a single texture with an SDF in each channel. This is more or less as expected, and it’s background context for our experimentation.
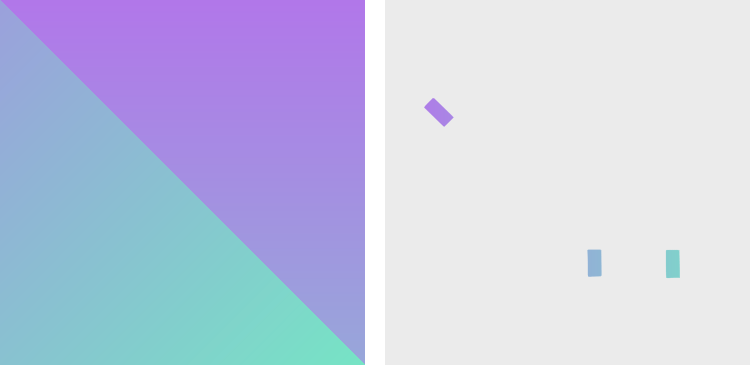
UV Mapping
One thing we had to make sure is that SDFs work well with UV mapped textures. Since SDFs store information outside the edge of a shape, that information can spill outside the UV mapped region for that triangle. So that information is liable to be cut off.
I ran a simple test that assuaged my fears of any possible problems. The SDFs version of a UV mapped texture worked just fine. Thankfully bilinear filtering has our back and we always have access to the proper interpolated distance values.
Limited Color Palette
I’m sorry. When I showed the comparison between John’s textures and my SDF recreation up there, I was hiding some flaws. I’m sorry to break your trust like this, but I hope I can build it back.
This is John’s Texture:
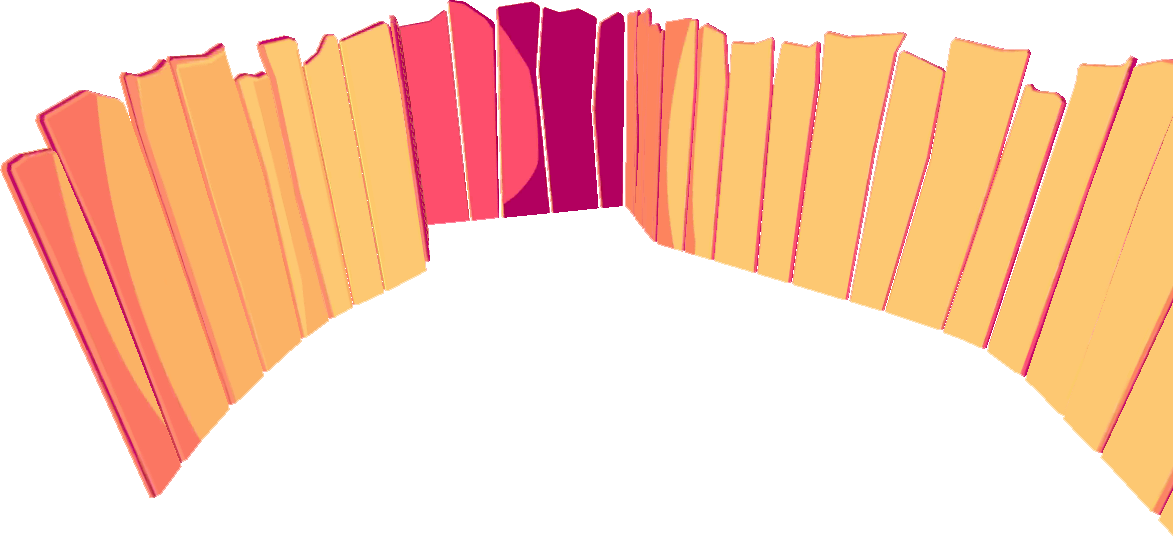
This is my SDF recreation:
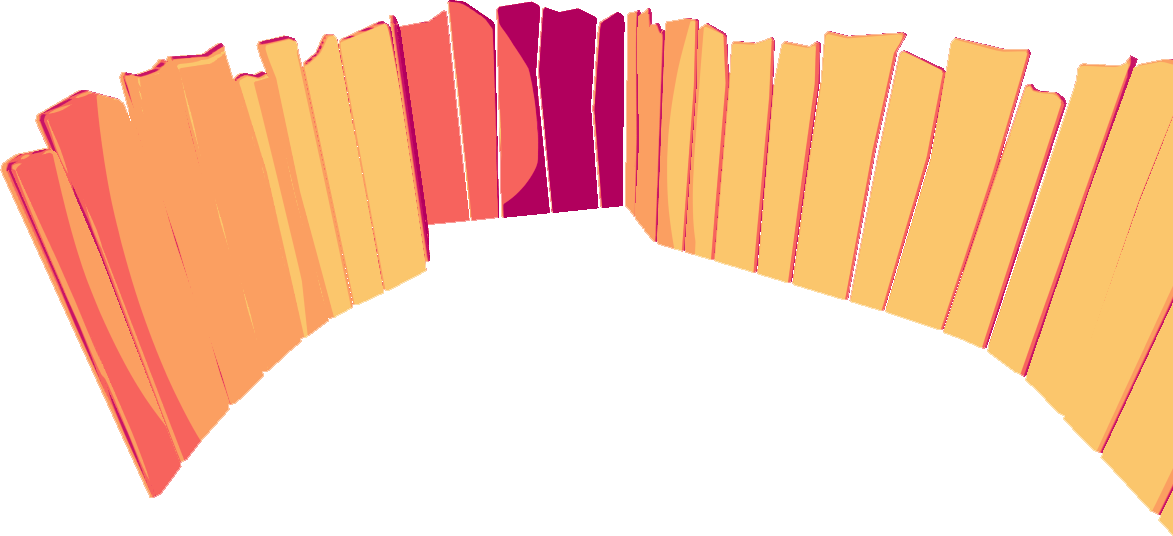
My recreation was limited to only 5 colors, which is why you see some artifacts on the left. SDFs aren’t inherently limited by colors, but some performance considerations get in the way (as usual).
SDFs draw shapes accurately by figuring out which pixels fall inside the shape. The standard thing to do is just paint the pixels inside the shape a particular color. But you can do a lot more than that. You could render a regular old texture in that shape or paint a gradient there. The problem is how do we tell the shader what to do at each pixel?
The simplest approach is to associate a single action (coloring, drawing texture, etc.) with an SDF source. So let’s say you have 4 SDF textures drawing 4 shapes, each source can then be told to paint with a single color. If needed, you can create shader variants where one or more of the SDFs is painted with a gradient or whatever the team needs.
Now we don’t want each pixel of the game doing multiple texture reads, because that will hurt performance. So the best thing, performance wise, is to limit the number of textures to just 1. That one texture has 4 channels which can be used to store 4 SDFs. So you paint your model a base color and then paint 4 shapes of different colors on top to get a total of 5 colors per object in the game.
Mapping Alpha Values to Colors
I’ve thought about a technique to kind of bypass this color limitation. You can use one channel, let’s say the alpha channel, to encode color information. For example, you can assign a color to an alpha of 0, an alpha of 0.5, and an alpha of 1. Then let’s say you’re storing 3 SDF shapes in your red channel. In your alpha channel you can paint the region occupied by 1 shape with 0, another shape with 0.5, and the third shape with 1. You can now draw three shapes in three different colors using 2 channels. That’s pretty good.
To store these alpha-value to color mappings, we can just hard-code them into the shader, assign them as shader properties, or store them in another texture.
Whatever approach we choose, it has to be cheaper than just reading more textures. So the thing that determines if this technique is worth it is how many more colors you’re able to render with it. For an SDF to render separate shapes, they need to have a bit of a gap between them. So how many separate shapes you can pack into a texture channel is frankly limited. So I think the gains here will generally be limited unless your artist makes art with SDFs in mind.
For us, this approach seems fairly impractical for now. We can just limit our color palette and read more textures as needed. We’ll know better once we decide exactly what art style we want to use. And if rendering turns out to be a huge bottleneck, we can start looking at this again.
Texture Atlas-ing
There’s another thing we could try which is basically creating a texture atlas where multiple SDF textures are packed in a grid arrangement, into a bigger texture. This is potentially much better than mapping colors to a texture channel, but it does have drawbacks. SDFs can run into floating-point precision problems that make things look wonky when you zoom in too far or make your object too big. This technique will make us more susceptible to those problems, especially on our massive treehouse meshes, but it’s still worth exploring.
Gradients
The default thing for SDFs is to paint solid colors. To give our artists more flexibility, we also experimented with the options for rendering gradients.
UV-Mapped Gradients
This is the easiest and the most efficient way to get gradients. Basically a single gradient is applied to the entire UV space, and you can define parameters for which UV position the gradient starts, the angle at which the gradient transition happens, and how stretched out the gradient is.

This technique is limited because it takes one texture channel and applies a single gradient to all the SDF shapes defined in it. So if you want multiple shapes where each shape has different gradient colors, or has a different start position and angle or anything, you’ll have to use a new texture channel.
You can get around these limitations by being crafty. You can use UV mapping to get the gradient to be where you want in a polygon. You can also use this technique to get multiple colors on one SDF!
But all of these techniques require extra, potentially finicky and tedious, work from the artist. Also being able to use UV mapping to mess with the gradient is a blessing and a curse, it also means you have to keep the gradient in mind when you want to make a UV mapped model and texture.
Texture-Mapped Gradients
Another approach to gradients is to create a texture that defines the value of the gradient at any specific point, and use that to paint the gradient. This requires one additional texture read to pull off, or we can sacrifice one of the SDF channels to store this data. This is similar to the approach to get more colors by mapping 1 channel alpha values to colors.
Like with the approach to having multiple colors in a single SDF texture, you can store the gradient color information in another texture to get very complex gradients. Basically the sky’s the limit here.

Here comes the sun
There is one thing you have to watch out for with this approach: UV mapping. The artist needs to ensure the UV mapping doesn’t cut off the gradient in a way that doesn’t make sense.

That’s about all for gradients. We aren’t actually sure if we’ll need them in the game, or how often we’ll use them. Once we know that, we’ll know if there’s anything we want to develop further here.
Conclusion
So that’s basically the gist of what I’ve been doing for a while. I implemented some SDF shaders and showed what we can do with it. Now it’s up to the art team to figure out what kind of an art style they want and what limitations they’re willing to work with.
Stay tuned for Part 2!